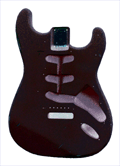
Step 1
Remove the strings and hardware from your guitar.
|
|
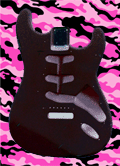
Step 2
Place the guitar body on top of the Guitar Skin.
|
|
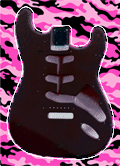
Step 3a
With a sharp hobby knife (not included), cut out the vinyl approximately 1/8th inch
from edge of body.
|
|
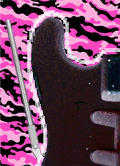
Step 3b
You can achieve a good clean cut if you let the edge or the side of
the hobby knife ride along the side of the body.
|
|
Step 4
Remove the guitar body to reveal the cut body. Use the hobby knife
to trim any uncut edges.
|

|
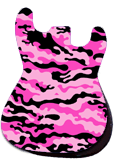
Step 5
Remove the backing from the top half of the vinyl and position the
Guitar Skin on the top half of the guitar body.
|
|
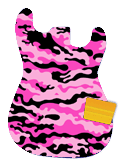
Step 6
Remove the remaining backing and fit the rest of the Guitar Skin to
the guitar body using an art squeegee or other flat edge to smooth the surface.
|
|
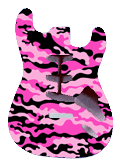
Step 7
Use the trimming knife to trim out around neck joint, body cavities
and hardware. Then, reassemble your guitar.
|
|
Finalize
Once your Guitar Skin transformation is complete you can enjoy a great looking guitar with an eye popping finish that will
surely grab attention. With proper care, your new Guitar Skin application will last as long as or sometimes longer than your
guitars original finish.
|
 |
 |